Want a budget-friendly way to expand your outdoor area and transform your backyard into the ultimate hangout spot? Whether you’re looking for a spot to put a BBQ or Pizza oven for some outdoor cooking or simply want an elevated space to put a few chairs where you can entertain guests, knowing how to install your own outdoor pavers offers countless possibilities for how you use your home.
Pavers are an approachable and budget-friendly alternative to pouring a concrete slab or building a wooden deck, and with a little DIY spirit, you can have a stunning patio in no time. Let’s break it down step by step so you can get that perfect patio without calling in the pros. If you’re more of a visual learner, we’ve attached a great tutorial on how to install your own outdoor pavers.
What You’ll Need:
- Pavers (choose a style that matches your vibe)
- Gravel (for a solid foundation)
- Paving Sand
- Gap sand
- Landscape fabric (to keep weeds from crashing the party)
- Edging (keeps everything in place)
- A shovel
- A rake
- A tamper (or a good ol’ fashioned stomping session)
- A level (because uneven patios = spilled drinks)
- A rubber mallet (for minor adjustments)
Step 1: Plan & Prep

First things first—decide where your patio is going and mark the area. Measure it out and stake some string to outline your future hangout spot. Be sure to check for any slopes or obstructions (like tree roots or pipes) that might make installation tricky.
Pro tip: It may save you a bunch of headaches to contact your local utility company before digging to make sure you won’t hit any underground lines. No one wants an unexpected power outage mid-project! It could be a good idea to visit Before You Dig Australia to ensure no cables or pipes are in your projected dig site.
Step 2: Dig It Up
Once you know your site is clear, grab your shovel and dig down about 15-20cm to make room for your base layers. It may feel like an excessively big hole, but remember, you’re going to be filling this up with lots of layers to provide a stable base for your pavers.
Depending on your existing slab, it may be more or less. Ultimately, you’ll want your pavers to be flush with an existing outdoor slab if you have one. If the only slab you can see is the one under the house, you get a bit more freedom on where you can position your new paved area.
Once dug, use your rake to even things out. Then, lay down landscape fabric to prevent pesky weeds from sprouting through your patio later.
Step 3: Create a Solid Base

Spread about 6-10 cm of gravel across your dug-out area and compact it down with a tamper. A stable base is crucial to prevent your patio from shifting over time. (No one likes a wobbly chair!)
After that, add a 2.5cm layer of sand on top and smooth it out with a rake. This will help your pavers sit nice and level.
Step 4: Lay Your Pavers
When it comes to how to install your own outdoor pavers, how you lay them is a huge consideration. Start laying your pavers in your desired pattern—whether it’s herringbone, basketweave, or a simple running bond. Make sure to place them snugly together. Use a rubber mallet to gently tap them into place and a level to keep everything even.
Step 5: Lock It In

Once all the pavers are in place, spread a layer of top sand over the top and sweep it into the cracks. This sand is ideally finer than what you used as a second layer on top of the gravel. This locks them together like a puzzle. Then, give your patio one final pass with a tamper to set everything in place.
For extra security, install edging along the perimeter to prevent paver shift over time.

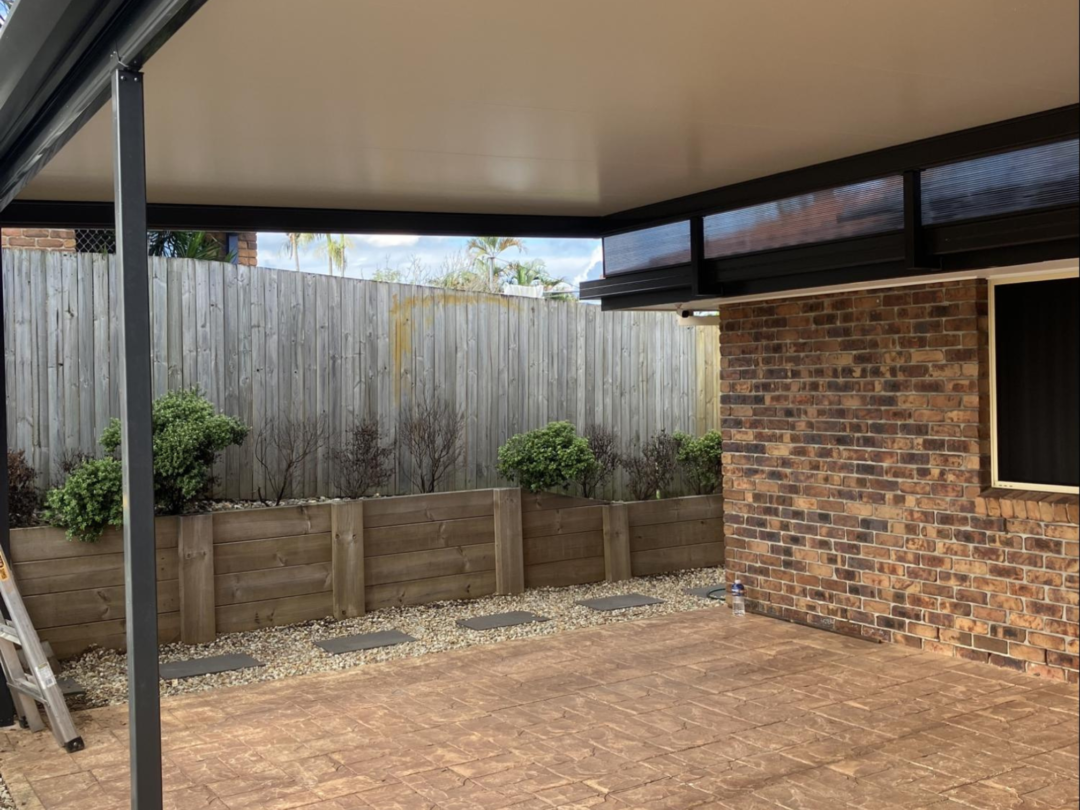
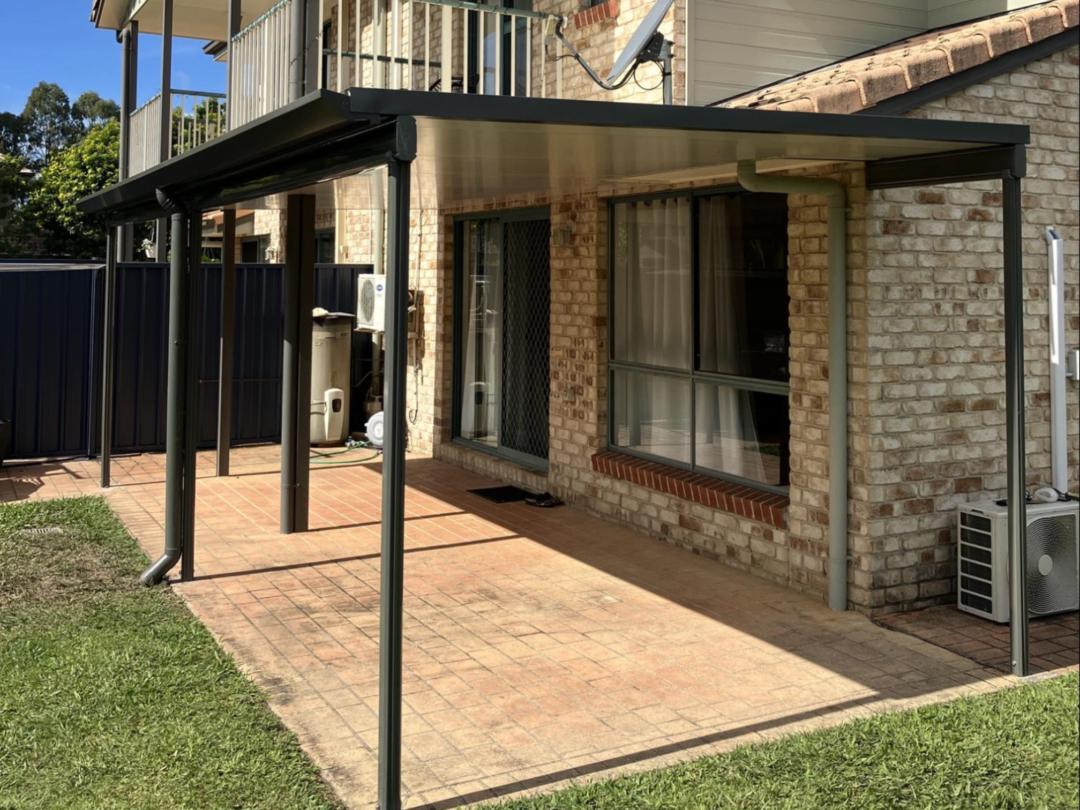
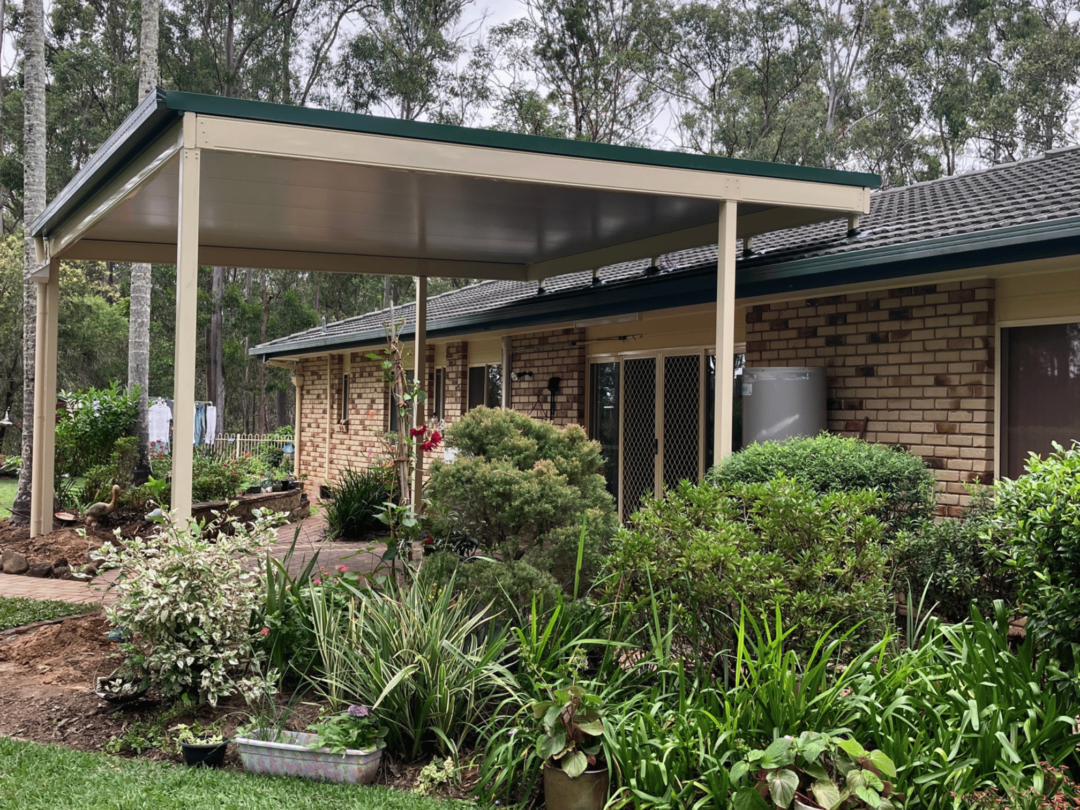
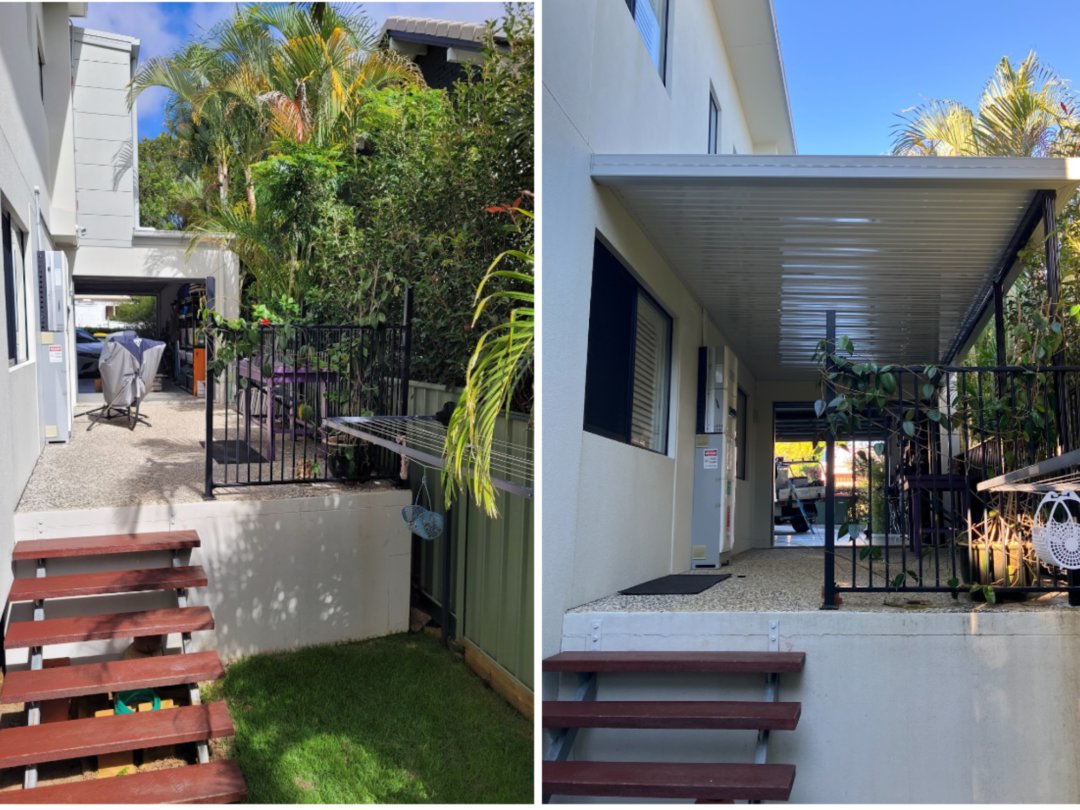
Want to Elevate Your Space Even Further?
If you want to take your paved alfresco area to another level, consider putting a patio cover over it. A pergola or patio roof can provide shade and shelter, making your outdoor space more comfortable year-round. Not only does it protect your furniture from the elements, but it also adds style and charm. That way you can enjoy your patio rain, hail or shine. If that’s an upgrade you’re interested in, contact SEQ Patio Group today!